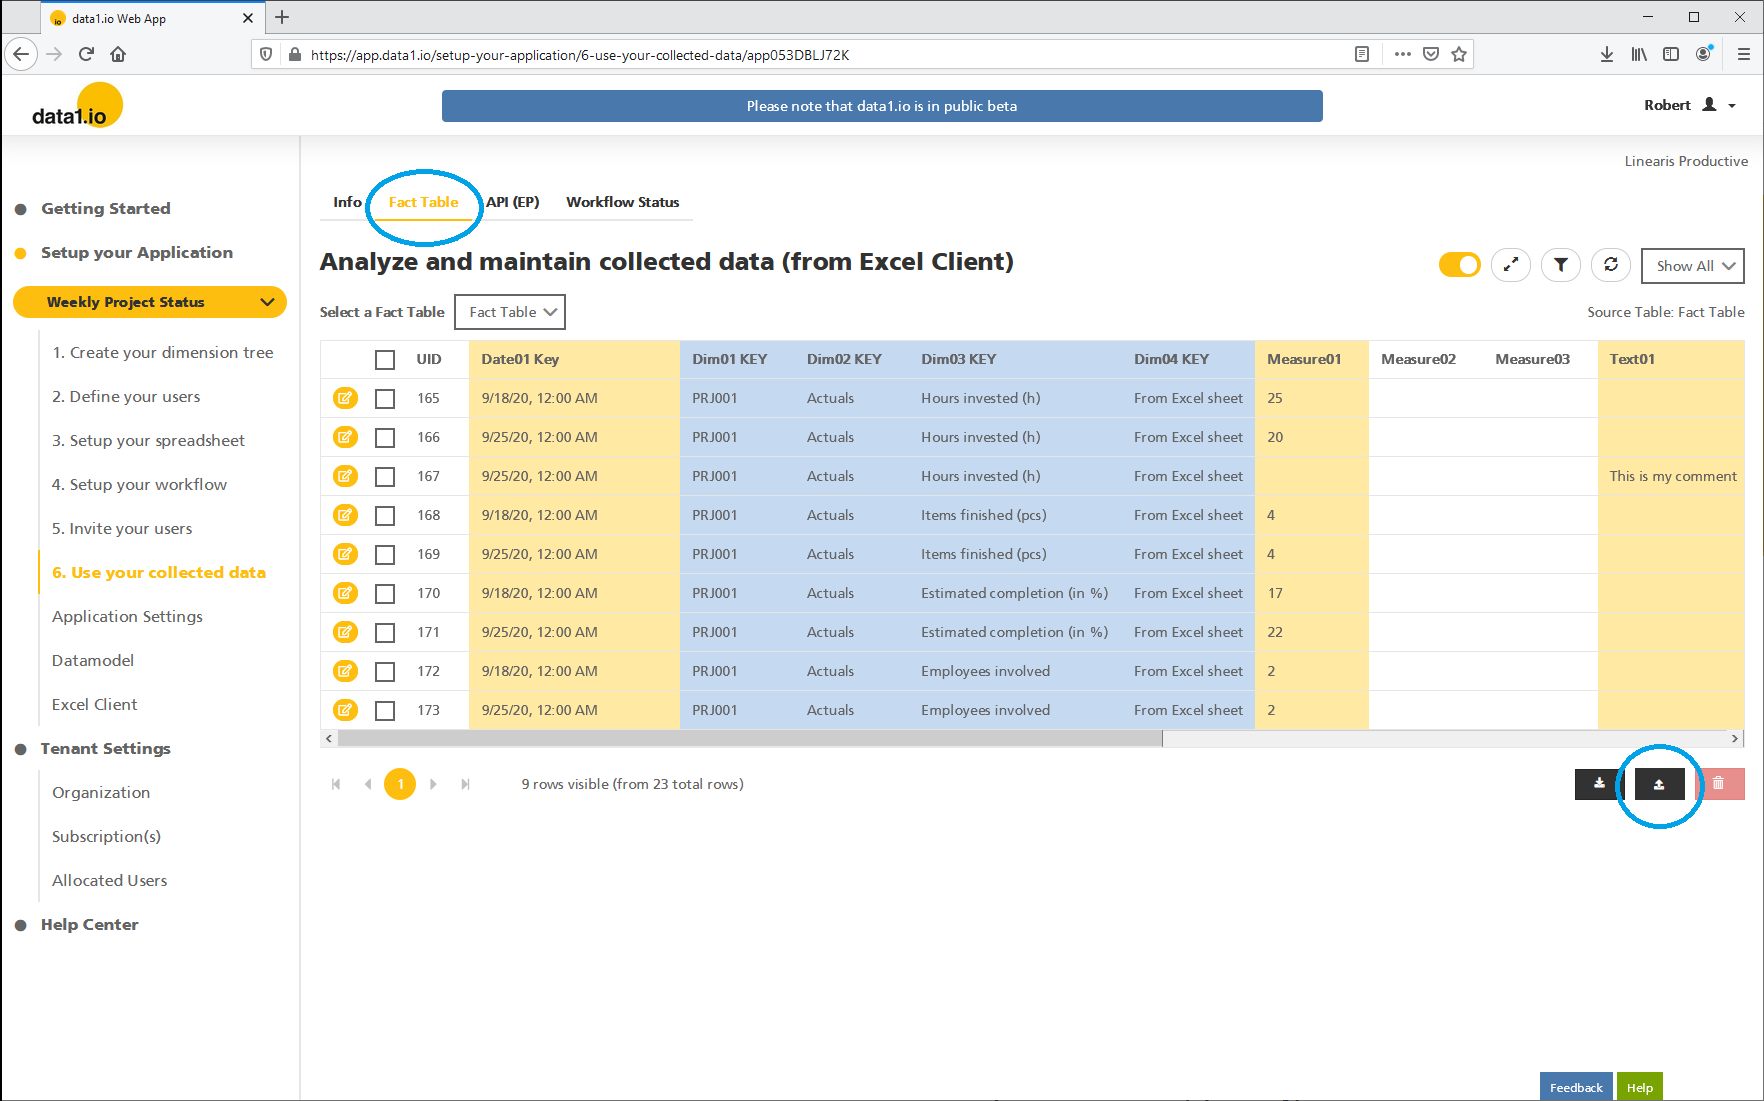
You can upload your actuals into the fact table of your application using the Excel Upload function:
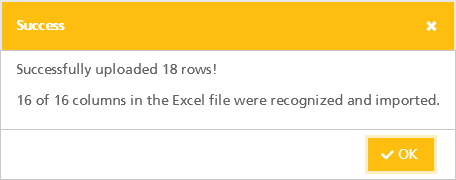
After selecting the Excel file with the records to be imported you will get
The upload file must fulfil some technical requirements for XLSX upload files and could look like this:

How to fill the upload file - dimensions and measure fields
From a content point of view you should be aware of the following information:
- DIM001.Key: Must be filled with the Keys as defined in the "Dimension Table" (e.g. "EMP01" used as key for a specific sales representative in your dimension tree)
- DIM002.Key to DIM010.Key: Can be filled optionally depending on the "Dimensional Design" of the Excel Template -> usable for further dimensions like scenario, dataunit, KPIs, article/product, customer, region, etc.
- DATE01.Key: If you want to show your historical data in a certain month then give all records the same date within this month (e.g. "2019-01-31") since data1.io cannot aggregate different dates to a month, quarter etc.
- MEASURE01: The value that will be shown. Several records for the same "node" will be summed up and the sum will be shown in the Excel Template as historical data.
- TEXT01: Can be used to show a text or comment on the data. Several records for the same "node" will not be aggregated, therefore the text is only shown if there is 1 record per "node". Please note the text can only be shown in the Excel Template if the MEASURE01 field of the record is empty.
- Record ID: this depends on the mode that is used in your Excel Template. If using the "By Column" mode then usually "0" can be used for all records.
- SYSTEM.Delta: must be filled with a any string (in many cases the same string can be used for all records)
- SYSTEM.IsDeleted: must be set to "False" (otherwise the records will not be shown in the Excel Template).
How to update existing records?
If you want to update already uploaded records, than you have to delete them before you upload the currently valid new data. You can use the table filter with the field "Created UTC" since all records from an upload get the same timestamp which can be used as criteria to delete the bulk of uploaded records:
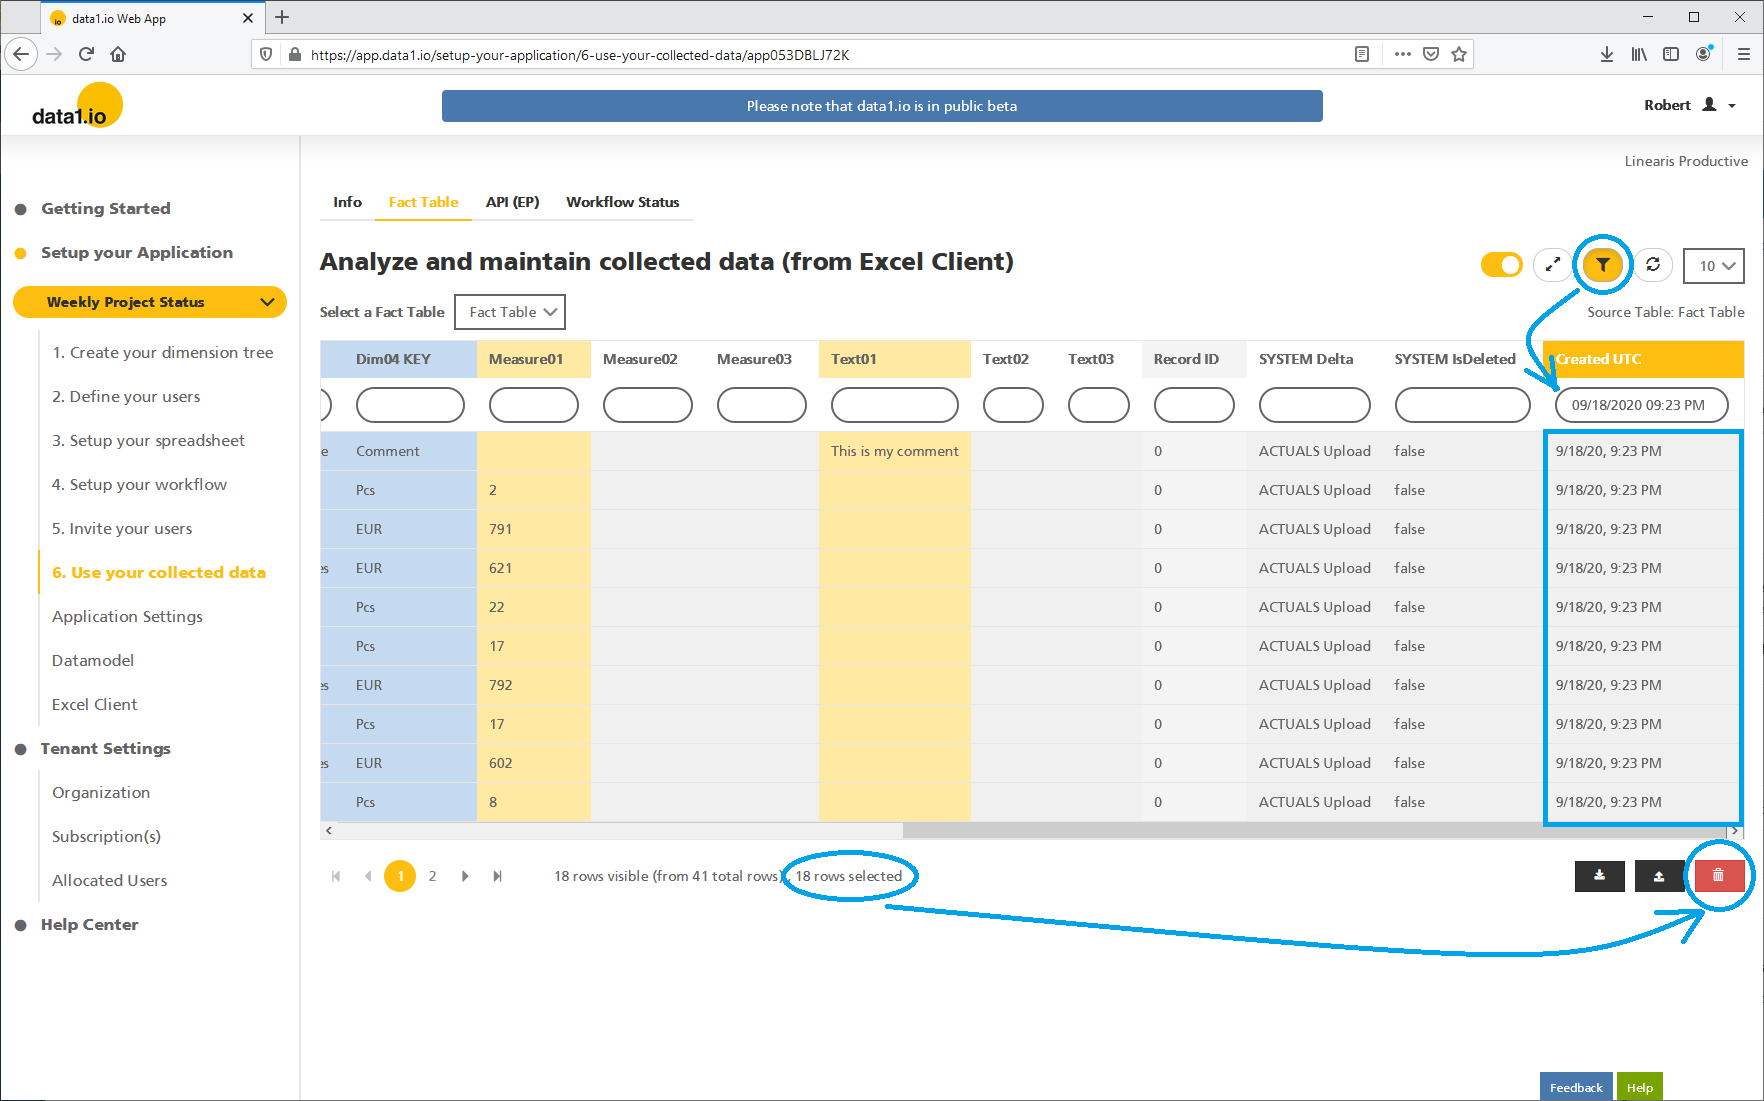
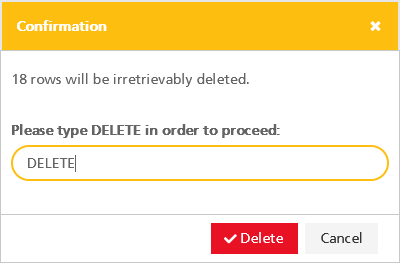
Select all visible records and confirm the deletion: